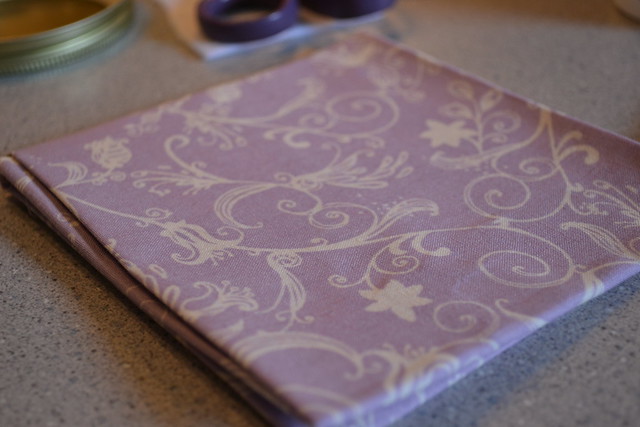
You can buy fabric squares at Wal-Mart for $1.00 in all kinds of patterns. I picked up a few that I really liked and thought would go together. This fabric can be used for a few other kinds of bows that I will share with you in later posts.
Keep the squares folded (make sure you take out the cardboard that is inside). You need to make 2 different size circles. Each size I made with a different color, as seen below.
To make the bigger circle, I traced on the square of fabric the top of a lid from a candle. The smaller circle I made from the bottom of a cup.
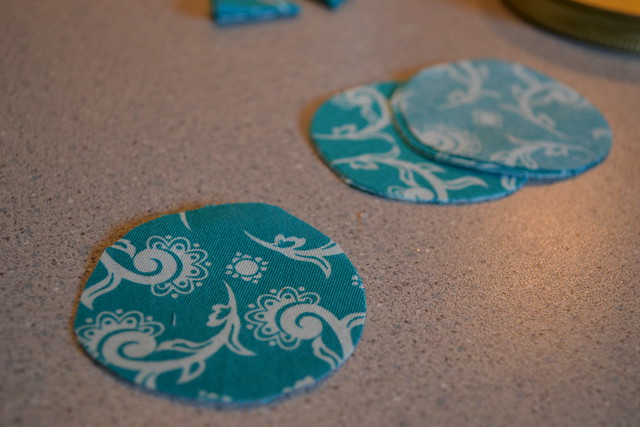
If you trace the circle template on the fabric square, using kitchen scissors you can cut all circles at one time. They do not need to be perfect. You need at least 6 circles of both sizes.
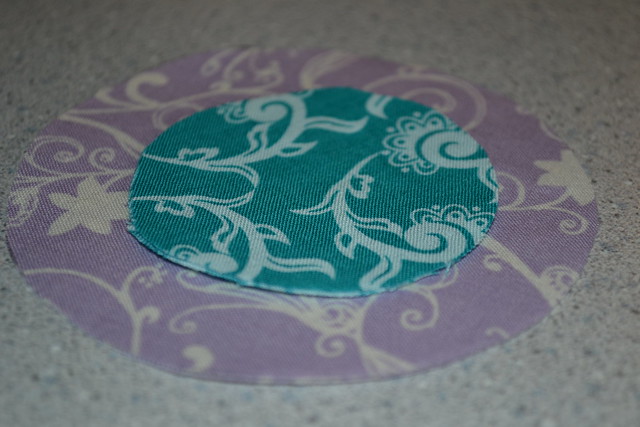
See the difference in size?
You need a hot glue gun for this part and a small circle of felt (.10 a sheet at Wal-Mart) which will be used to glue the pieces down. See below a finished bow at what the back looks like.
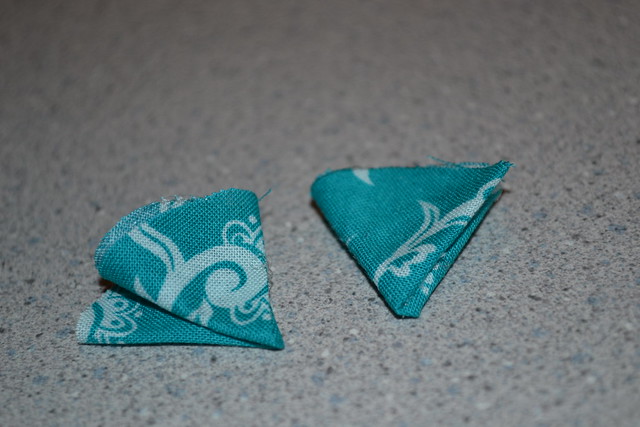
Taking one of the circles, fold in half and using the hot glue, put a strip of glue to hold secure. Make sure not to get the glue too high, you want them to look "fluffy." Then fold half to the front and half to the back. Look at the above picture, it's kind of hard to explain how to do this. Using the hot glue, secure the folds. Remember not to get too high with the glue.
Do this will all 6 big circles and all 6 small. They do not have to be perfect. In fact it gives a little personality not having them so exact.
Get the felt circle ready. Glue the big circle pieces down onto the felt first matching up the corners. Then on top, glue on the small circle pieces the same way you did the bigger ones. Look at the picture below to see what it should look like. Then you can glue on a button or bead- anything that can decorate the center of the bow! You are ALMOST done!!
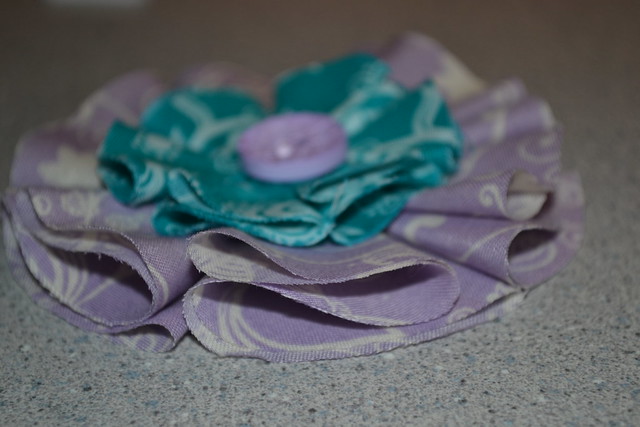
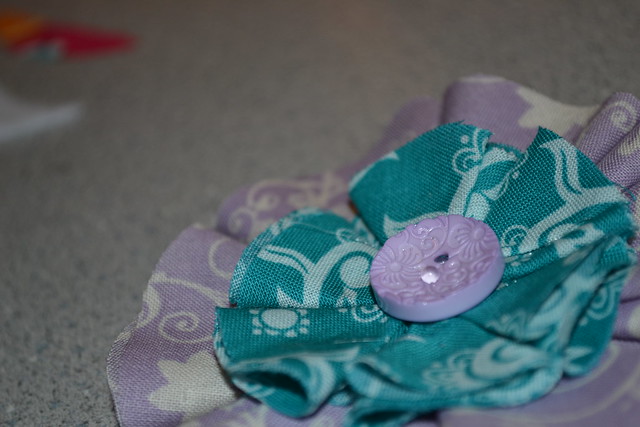
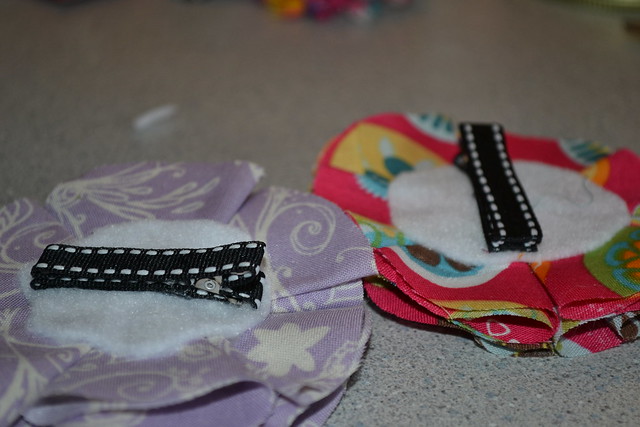
On the back, glue on the hair clip. I covered them in ribbon using hot glue. It takes a few times covering them to get the hang of it. If you do not want them on a hair clip, you can put straight on a head band. I just know with a growing babies head, I don't want to secure on a head band in one size. With a clip, I can still clip onto a stretchy head band and be able to change out as her head grows. And when she gets a lot of hair I can just use as a hair clip as well and not a head band.
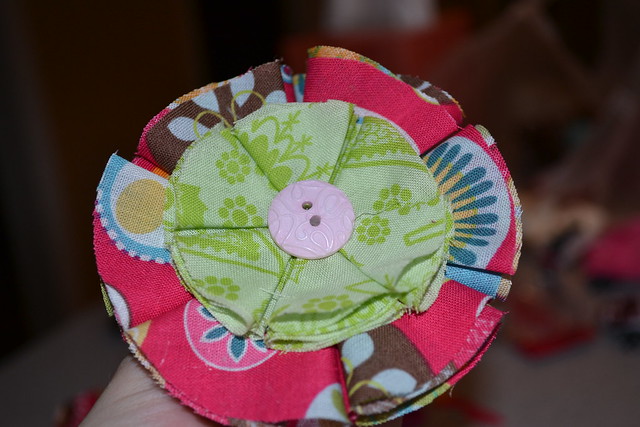
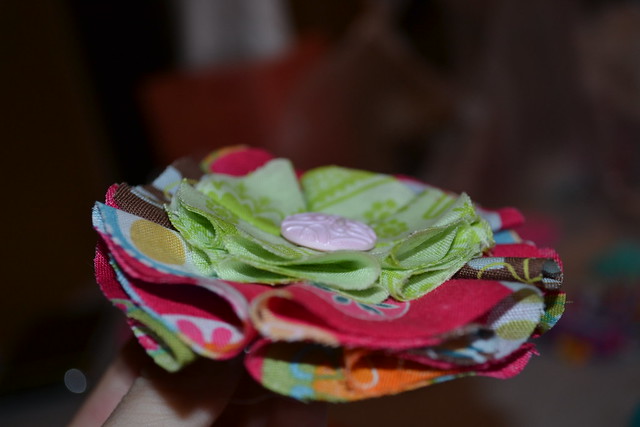
These really are super easy. Once you make one, you will see what I mean. I think I will be making these as gifts for all of the little girls I know.
Be looking for more tutorials on how to make different kind of bows. I have about 3 other kinds all to make NOT having to use a sewing machine. Easy and cheap.
Let me know how yours go!!
No comments:
Post a Comment